Setting up the system was easy once a had a crash course in drip irrigation from the local home depot employee. He was nice enough to explain to me how everything goes together and made sure I had what I needed to get started. I ended up buying a 50 ft length of 1/2 inch tubing to act as the main water line in the garden. Then I bought several 50 ft rolls of permeable 1/4 inch tubing for the lines that I would be using in the beds. I made sure to get the right connectors and end plugs to make everything work correctly. I also bought a roll of non-permeable tubing to connect the lines across the main pathway to keep me from turning it into a mud pit.
I started with the beds that I had already planted. The potatoes, onions and garlic each got three lines spaced evenly across the beds to make sure that every plant gets a fair share of the water.


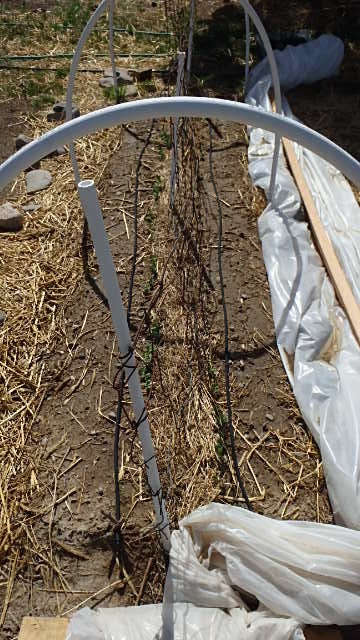
The bed containing the peas and carrots only got two lines - one for each row of peas. This bed will hold the tomatoes in the summer and two lines should be enough for them also.
I am waiting to put the rest of the irrigation system in until I plant the remaining garden beds. This way I can make sure that the plants have the right amount of water piped directly to them because I will be able to put the lines in the right place. I will also be able to mulch over the lines after planting which will help keep moisture in the soil and keep the soil temperatures down which keeps plants happy even when the sun is beating down in the heat of summer.
This is probably the most expensive part of the whole garden this year. With all of the tubing I need to buy I expect to spend between $100-$150 on this project alone. I hope this makes up for itself by using less water overall and making efficient use of my time in the garden. It sure will be nice to water the whole garden by simply turning on the hose and letting it do it's thing. This will free up time for me to pull weeds and harvest crops instead of spending hours hand watering the garden. This might just be my easiest garden yet once I get all the prep work done!
No comments:
Post a Comment